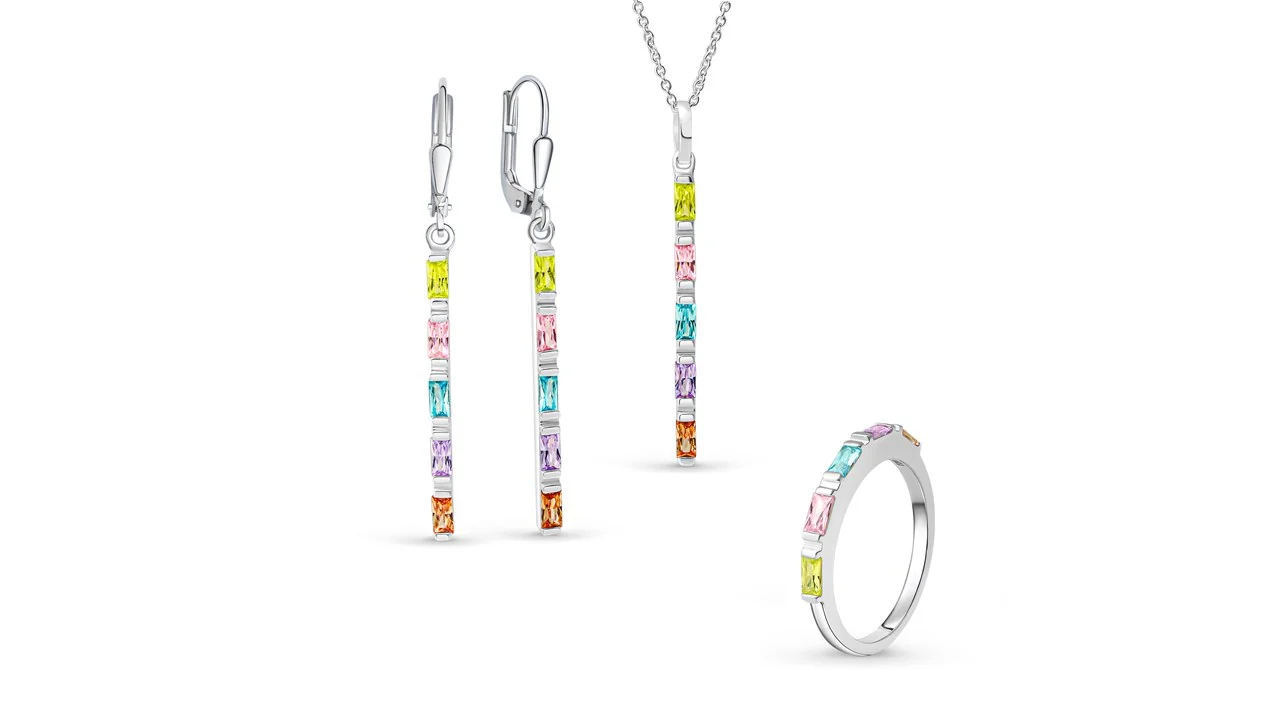
A uniform pictorial style is created by recurring decisions on perspective, light, background and image detail. Hold these before shoot and keep a matching reference image. So the design direction remains understandable even if your jewellery collection grows later.
If you are planning the recordings for your assortment, you will find the process and the services at jewellery photography in Berlin.
Start with the overview in the shop
Consider your product overview as a whole. Do some pieces fall on simply because they are larger, have a darker background or are differently aligned? Such differences can be wanted. However, if they happen to occur, they make visual comparison difficult.
First, determine which image should be in the first place on a product page. For a quiet overview, for example, this can be product images on a white background with similar orientation. Additional details and on-model photos can then take on other tasks.
Defining perspectives per product group
A ring needs a different positioning than a long chain. Unity therefore does not mean forcing all types of jewellery into the same posture. Recurring requirements within a product group are meaningful.
- Rings: Tune rotation, visible inside and position of the frame.
- Earrings: Set the arrangement of a pair, distance and alignment.
- Chains: Adjust the track, visible length and position of the pendant.
- Bracelets: Determine the shape of the arrangement and visibility of the buckle.
Note also justified exceptions. An unusual closure or a special version may require an additional view.
Consider lighting and material together
Polished gold, matt silver and pearls react differently to light. Nevertheless, a coherent series does not have to be processed in such a way that all surfaces look the same. The material should retain its character.
Discuss how soft shadows should be and how clearly reflections can remain visible. Evaluate the selection as close as possible to each other on the same screen. Thus, differences within the series are easier to see than in individual viewing.
Keep backgrounds, image scale and spacing consistent
A common aspect ratio facilitates the presentation in the shop. The free edge around the product is equally important. If every piece of jewellery is enlarged to just about the edge of the picture, a small creole in the grid can appear as large as a large pendant.
Therefore, consciously decide between a picture filling as similar as possible and a representation that emphasizes size differences. For the actual proportions, you complement dimensions and matching On-model photos with size cover.
Create a short style sheet for follow-up shoots
A style sheet bundles the decisions in one place. This includes a released reference image, information on the background, the perspectives per product group as well as specifications for cutting and output. Also document which features of the reference image are binding and where there is room for manoeuvre.
For new products, send this style sheet along with the previous pictures. A reference photo alone does not always explain whether, for example, the shadow, the metal effect or only the alignment should be taken. A brief written explanation makes the order clearer.
Checklist before releasing a series
- Perspectives within the product groups comprehensible
- Backgrounds and shadows matched
- Material colours and surfaces displayed credible
- Borders and image sections in the Shopraster controlled
- Files uniquely assigned to the item numbers
- Reference images and style specifications saved for later additions
For a common representation of several pieces are also suitable Products and setsAn overview of my recordings can be found in the Portfolio. When a new collection is due, the Shoot checklist at the request.
More about my jewellery photography in Berlin.
For the image planning of individual types of jewellery you will find further information on Rings, Earrings and hoops, Necklaces and pendants, Bracelets and bracelets.